NAP/CTO Management
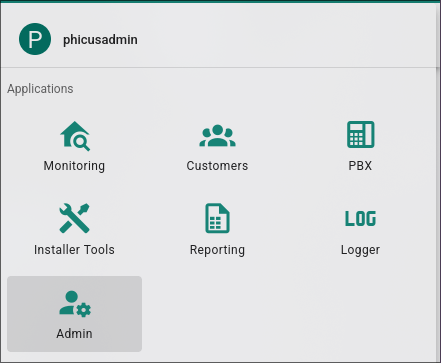
In this module, we can add and view the passive elements of a fiber network, commonly known as NAP or CTO. The module is accessible from the Admin option.
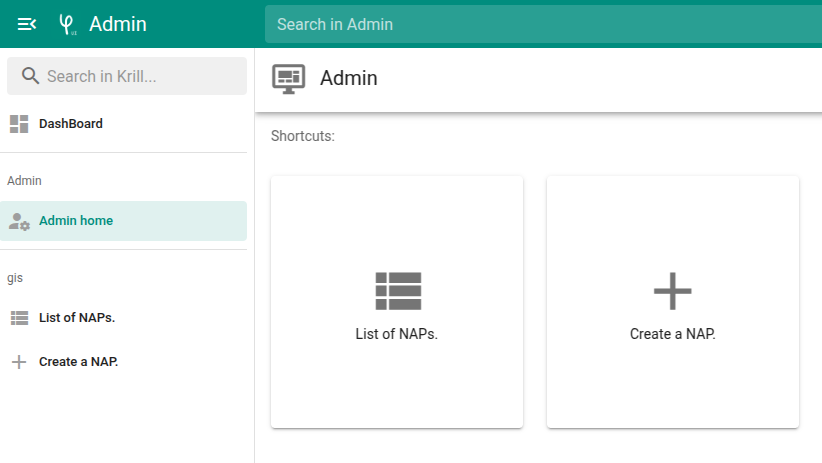
From the main dashboard you can access:
- Create new NAP: Create a new NAP.
- List of NAPs: View the list of all existing NAPs.
New NAP
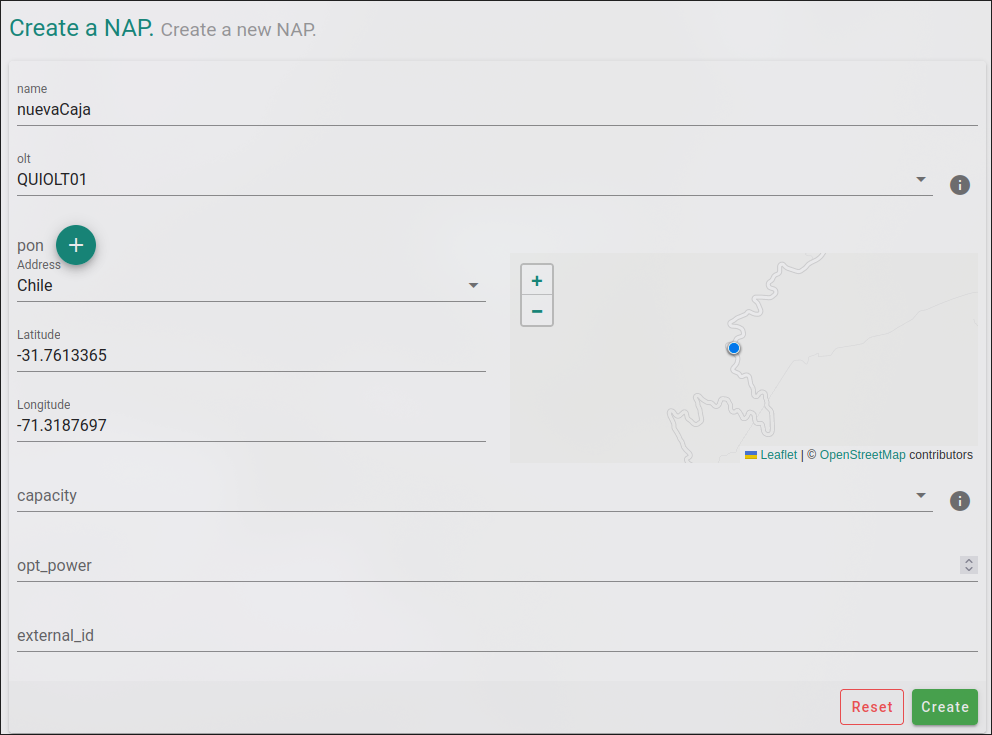
In this view, you can enter the details of the new NAP. Some fields are required, while others are optional. Below is a detailed description:
- Name: Descriptive name for the NAP. (Currently, it must follow a SLUG format without spaces or special characters, e.g., caja-zonaA-barrioZ-001).
- OLT: OLT to which it is connected.
- PON: frame/slot/port to which it is connected (Optional).
- Address: Field used to search for the NAP by entering the name of the street where it is located. The location can also be selected by clicking directly on the map on the right.
- Capacity: Number of NAP ports (Optional).
- Opt_power: Field indicating the optical level of the NAP (Optional).
- External_id: External ID in case an external system is used for NAP registration.
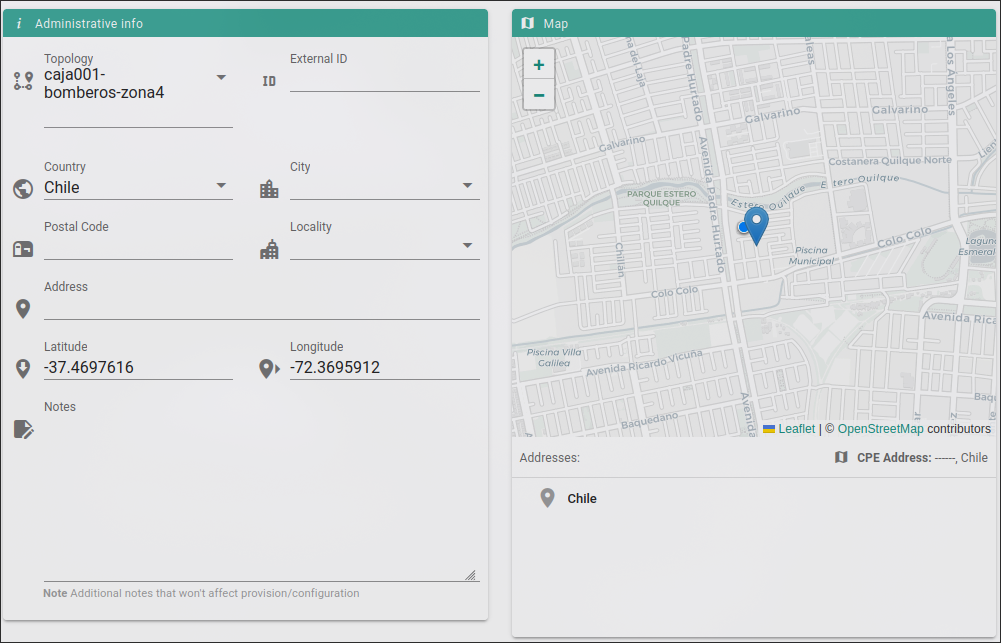
Associate NAP to CPE
Once the NAP is created, it will be available for assignment to CPEs. From the CPE editing form, in the Topology field, you can associate the corresponding NAP name. It is also possible to link the box directly from the map on the left by clicking on it.
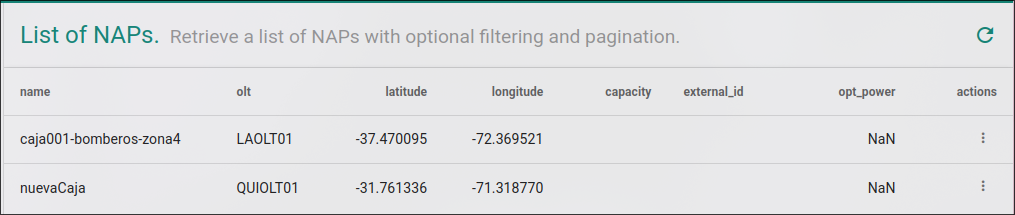
List of NAPs
List of existing NAPs in AdminSchema:
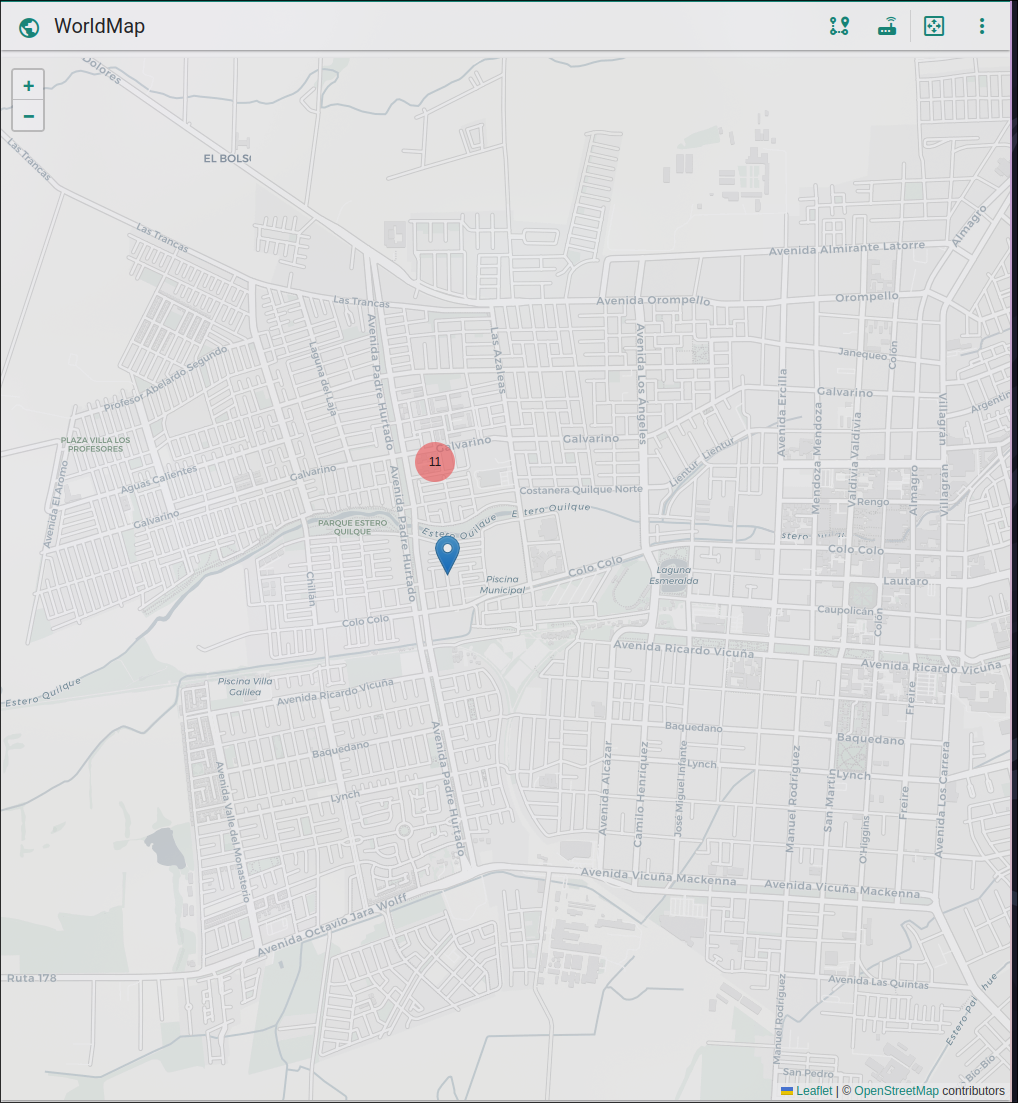
World Map
In addition to the list, from the World Map view, you can visualize the NAPs at their corresponding locations. To do so, click on the map button in the upper right corner, to the left of the router icon.